Cleaning Guide
Updated on 25.09.2024
In this guide
1
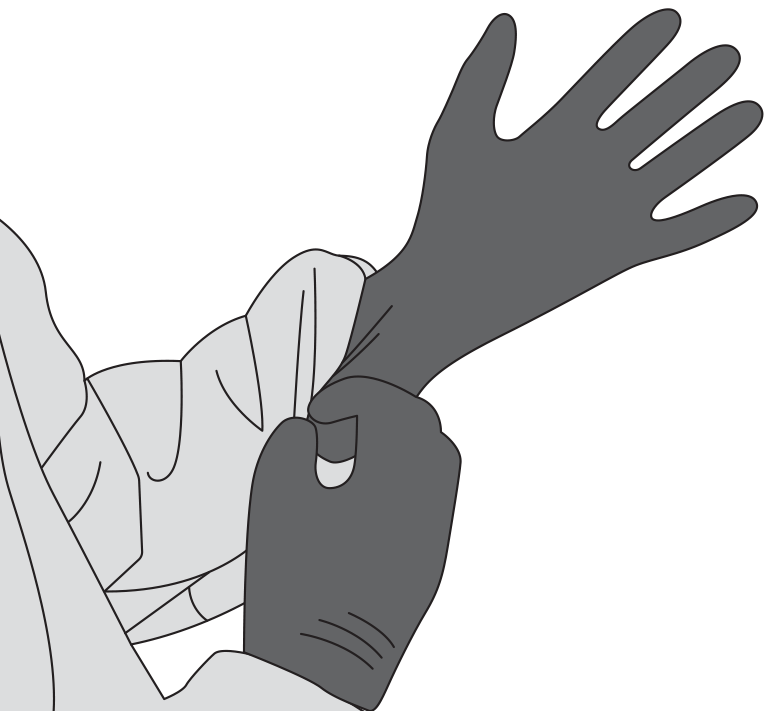
1. WEAR PROTECTIVE GEARS
During all fases of setup and operation procedures, always wear proper body and respiratory protection such as:
Anest Iwata safety glasses, mask and gloves.
2
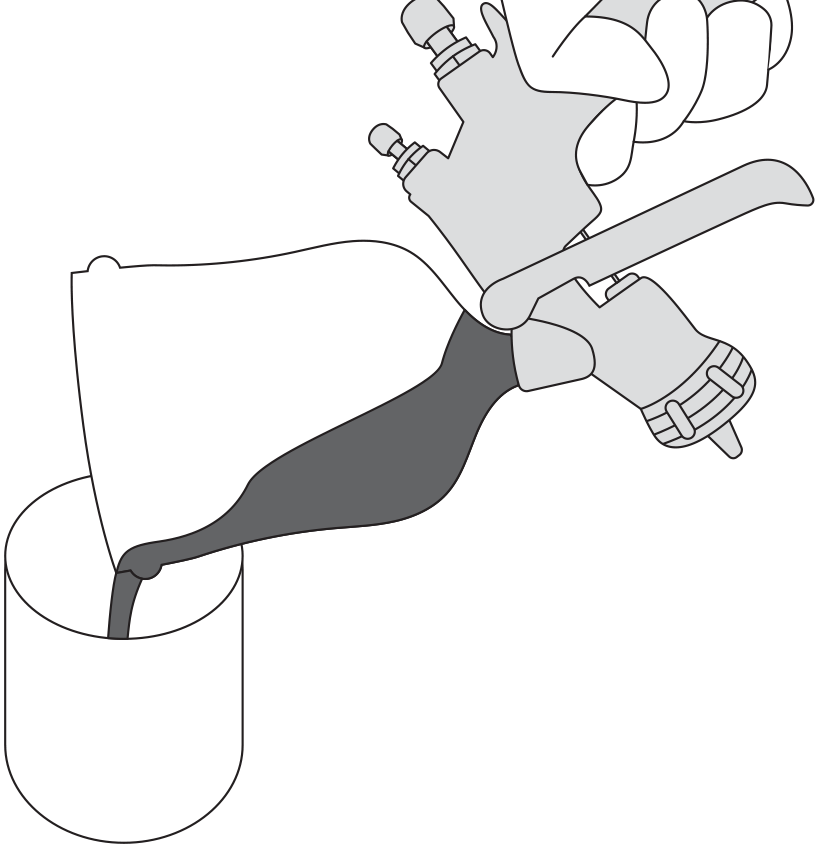
2. PRELIMINARY WASHING
- Drain remaining paint from the gravity cup into a suitable container and clean the cup with a dry cloth.
- Pour the cleaner into the gravity cup, leave it to act for a few seconds and carry out a preliminary wash to remove any excess of residual paint.
- Drain the dirty cleaner from the gun and from the gravity cup, into a suitable continer. Repeat the procedure until the cup is perfectly clean and wipe it with dry cloth, then proceed with cleaning of all other parts.
3
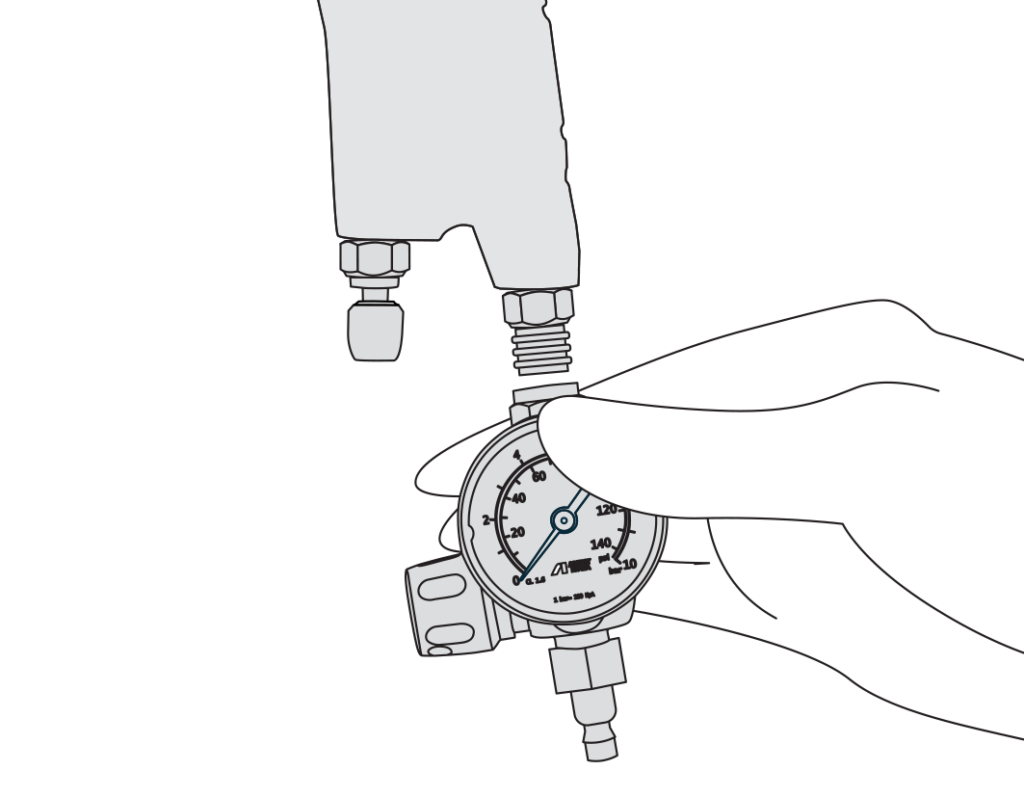
3. DETACHING BEFORE CLEANING
The pressure gauge must always be detached from the gun handle before cleaning to prevent permanent damage.
- Unscrew the Air Regulator connecting nut counterclockwise.
- Detach the Air Regulator from the spray gun body by moving it downward.
4
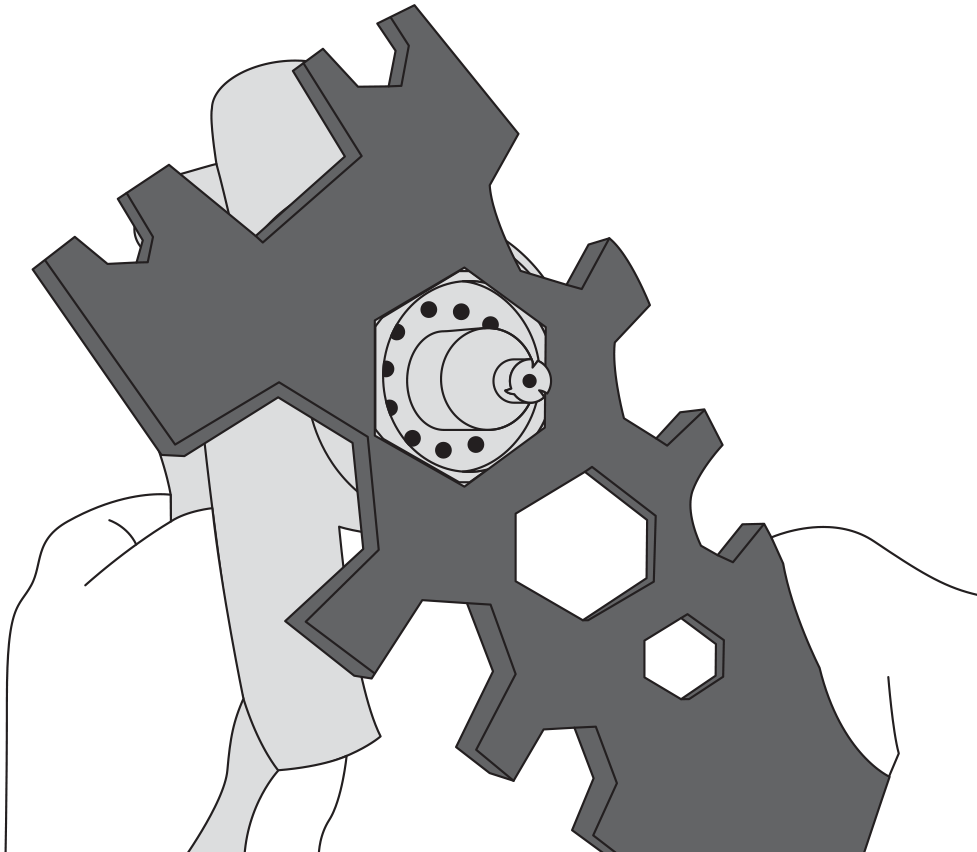
4. DISSASSEMBLING OF ATOMIZING PARTS
- Remove the air cap.
- Unscrew the fluid adjustment knob by hand and take it off togheter with the spring.
- Pull out the fluid needle.
- Remove the fluid nozzle utilizing the included Spanner.
5
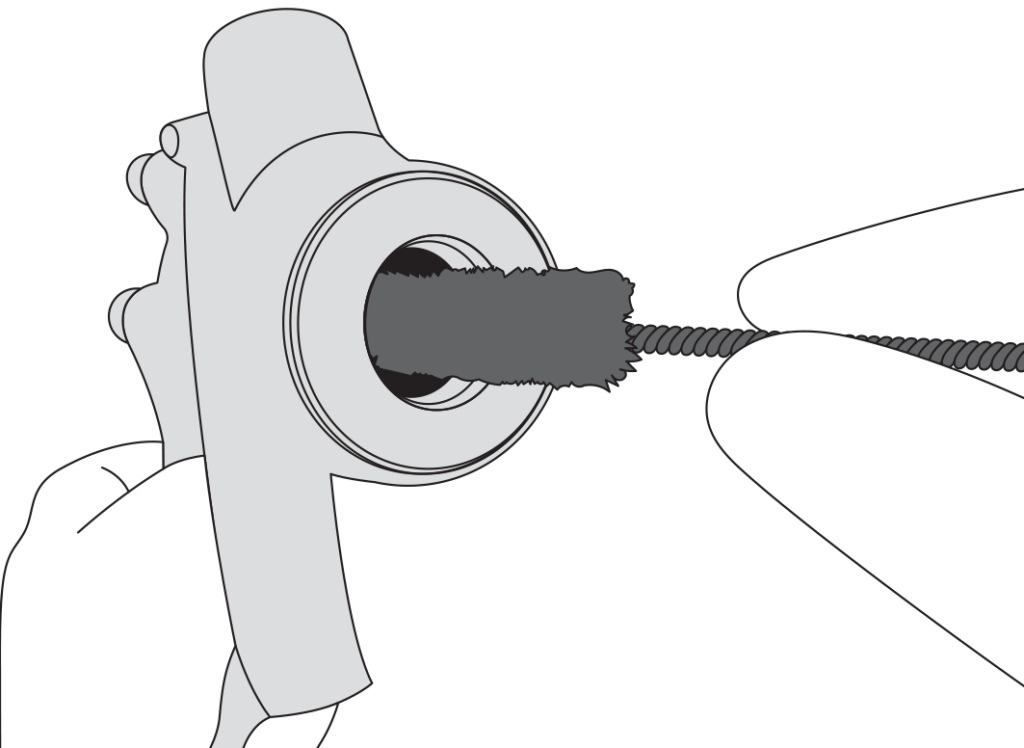
5. GUN BODY CLEANING PROCEDURE
- Clean the fluid ports using the Twisted Brush (ø 15 mm)
- Clean the body surface.
- Dry the spray gun with the Blow Gun AG-6.
6
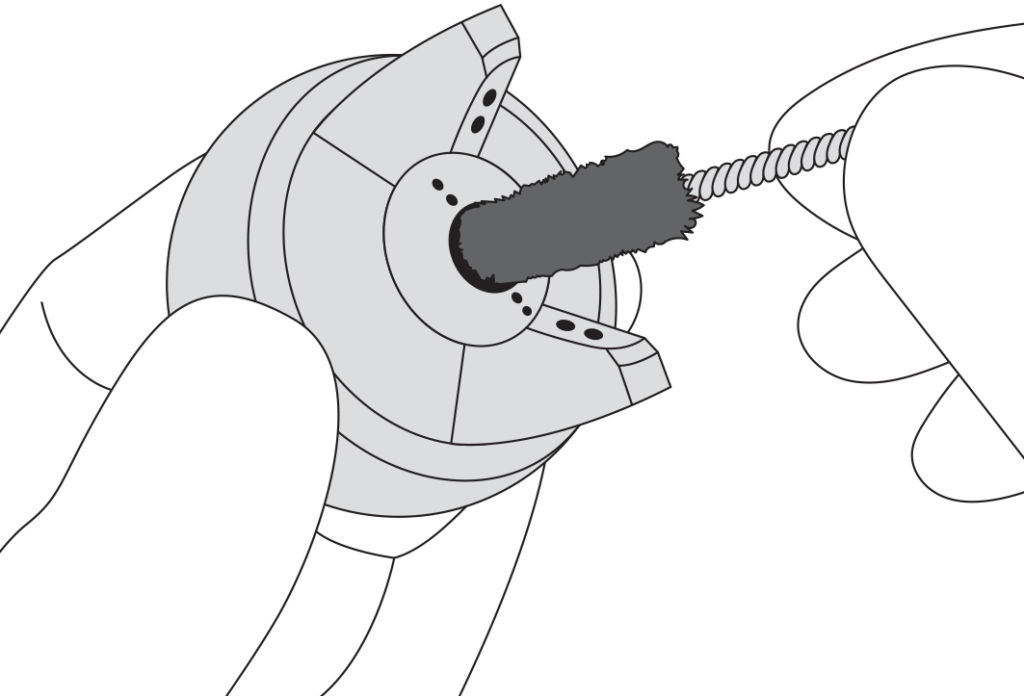
6. CLEANING OF THE ATOMIZING PARTS
- Clean the lateral holes in the nozzle using the Tiny Twisted Brush (ø 3 mm).
- Clean the central hole of the nozzle using the Tiny Twisted Brush (ø 3 mm).
- Clean the slits of the fluid nozzle using the Brush in Bamboo.
- Dry the slits of the nozzle with the Blow Gun AG-6.
- Clean the fluid nozzle inside, using the Twisted Brush (ø 10 mm).
- Clean the threads of the fluid nozzle using the Brush in Bamboo.
- Dry the threads of the nozzle with the Blow Gun AG-6.
- Clean the fluid needle using a big brush.
- Clean the air cap center hole with Twisted Brush (ø 5 mm).
- Clean the horn holes with special Tiny Twisted Brush (ø 3 mm).
- Clean the inner horn holes, and blow dry air cap once finished.
- Clean the tiny holes right next to the central hole of the air cap using a proper Cleaning Needle.
- Blow dry the tiny holes right next to the central hole of the air cap.
7

7. SETUP FOR AUTOMATIC GUN WASHER
Before putting the spray gun into the gun washer, fit the TRIGGER LOCKING CLIP. Once you installed the clip properly follow the steps given by the Instruction manual of your gun washing machine.