Unboxing & Set Up
Updated on 18.03.2024
In this guide
1
1. Unboxing
Unpack the spray gun and make sure that the product has not been damaged during transportation and that all the contents are included the packaging.
2
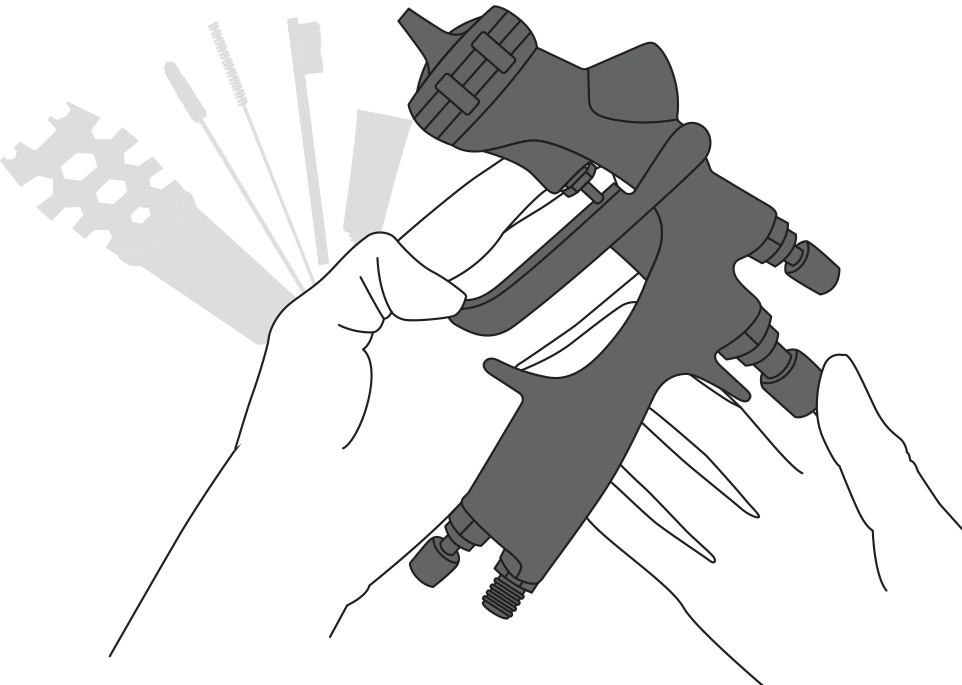
2. CLEAN & CONNECT
*Clean the fluid passages of the gun before the first use to remove any residue of oil. (*Refer to Cleaning Guide)
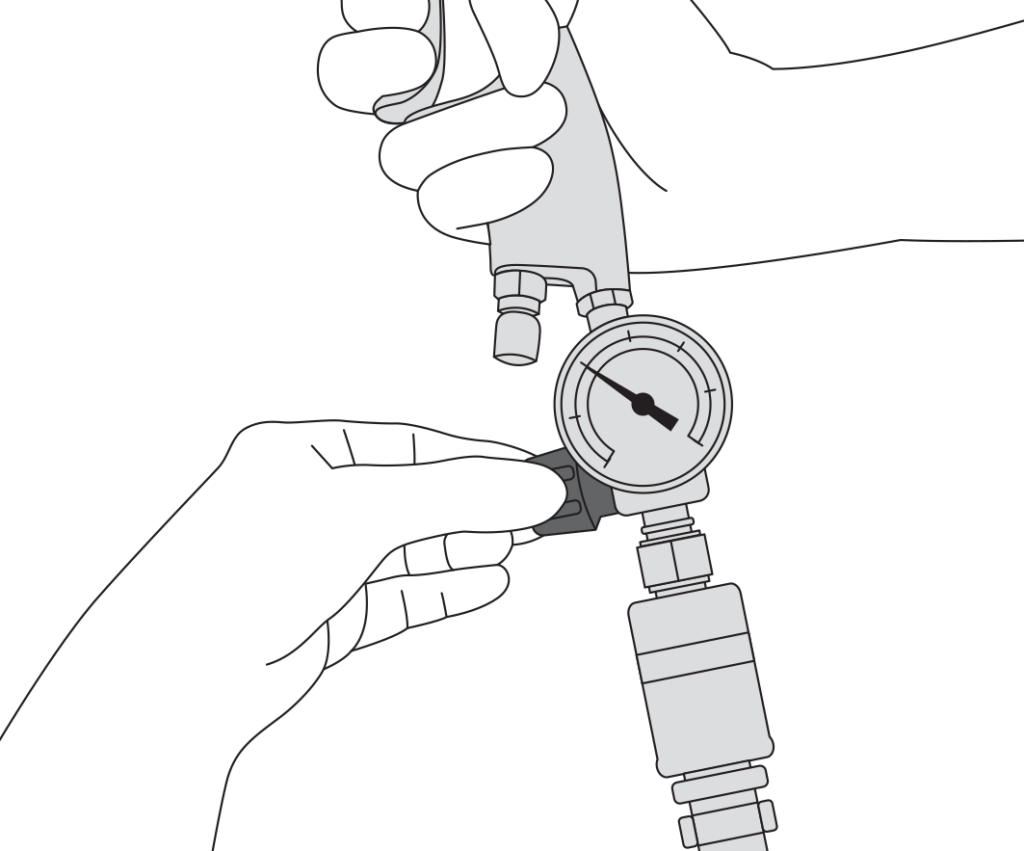
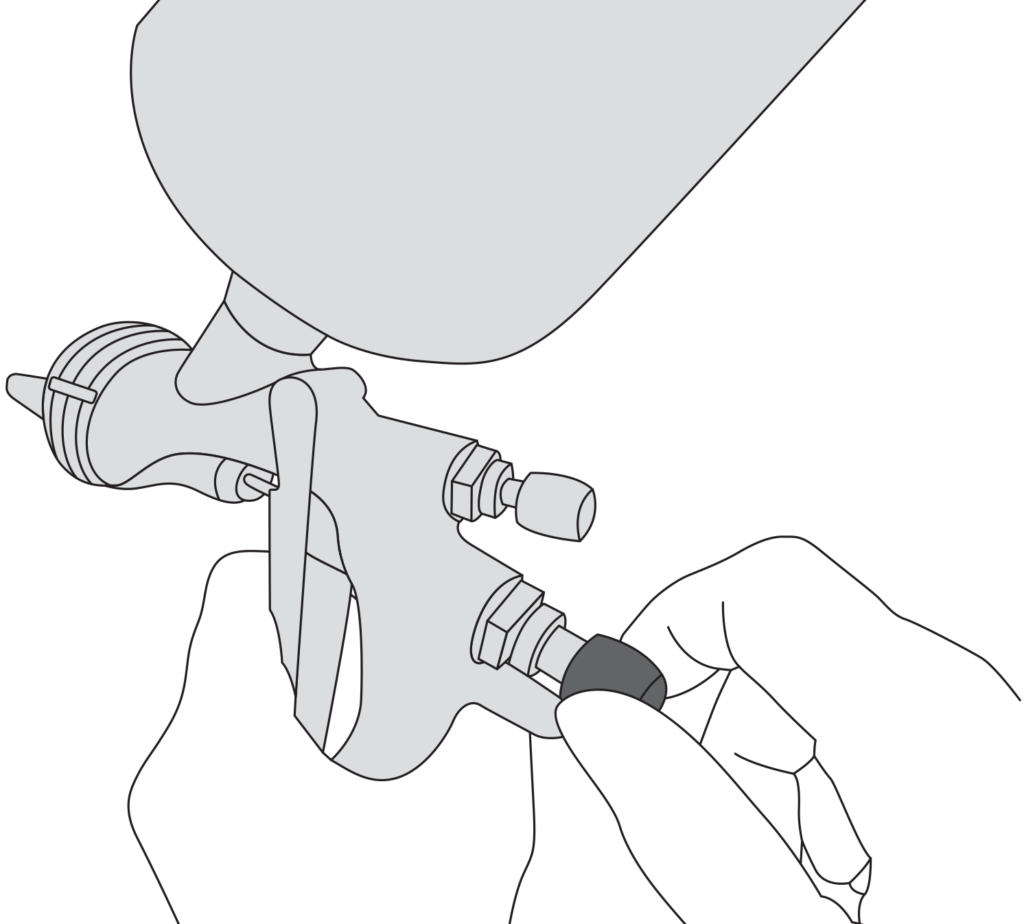
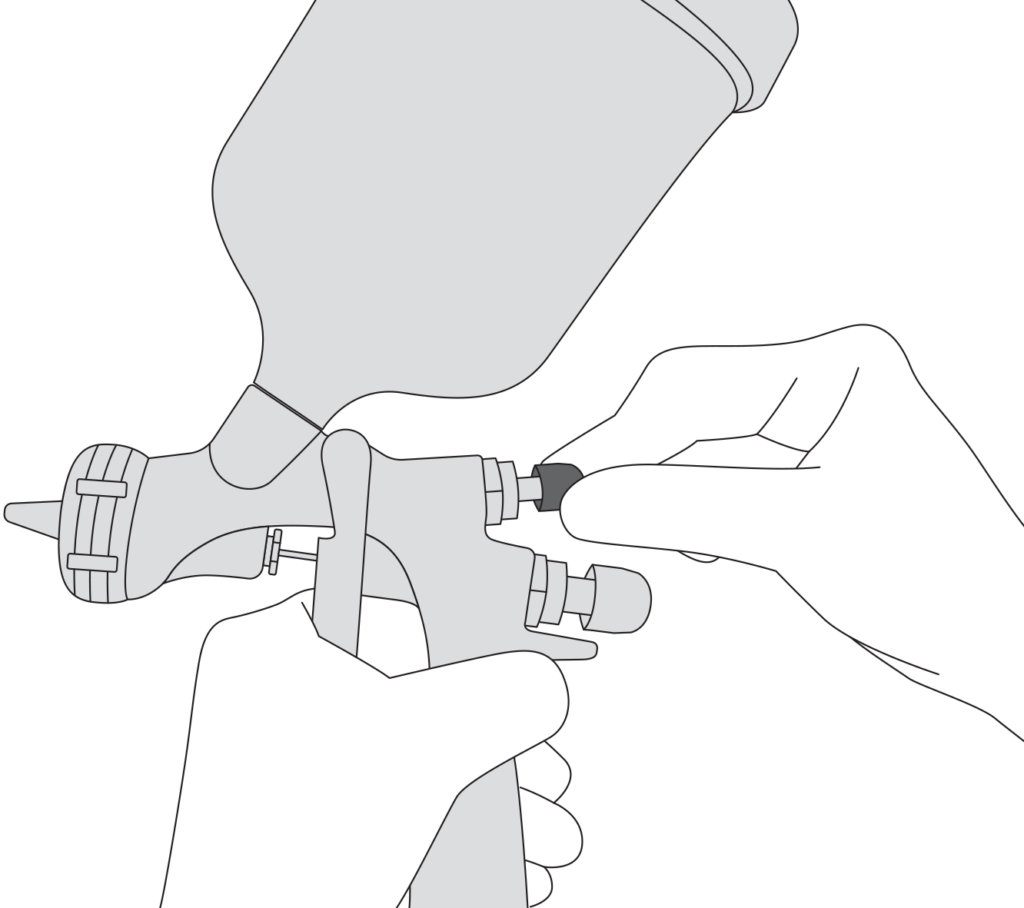
- Connect Pressure Gauge and/or air nipple to the air inlet port of the gun.
- Firmly assemble the gravity cup to the spray gun fluid nipple.
- Firmly connect the air hose to the air inlet pressure of the gun.
3
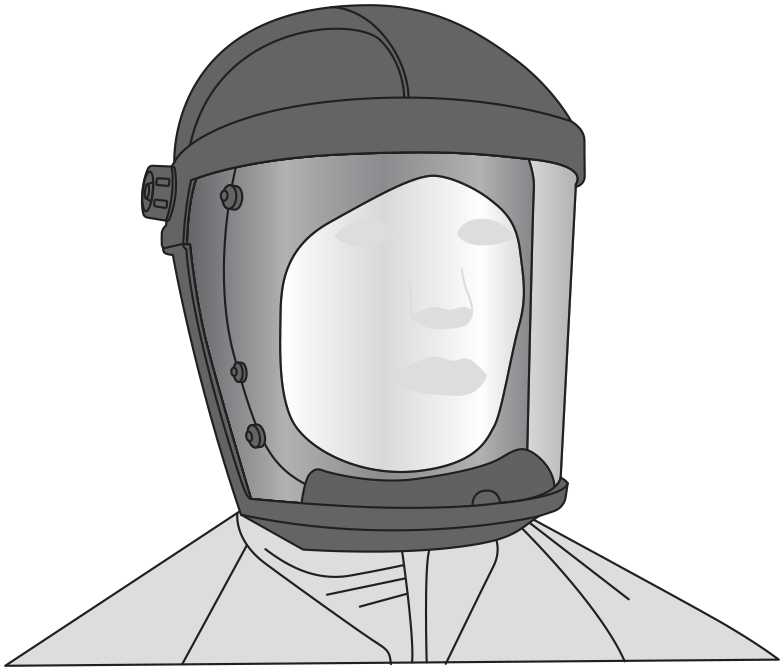
3. WEAR PROTECTIVE GEARS
During all fases of setup and operation procedures, always wear proper body and respiratory protection such as:
Anest Iwata safety glasses, mask and gloves.
4
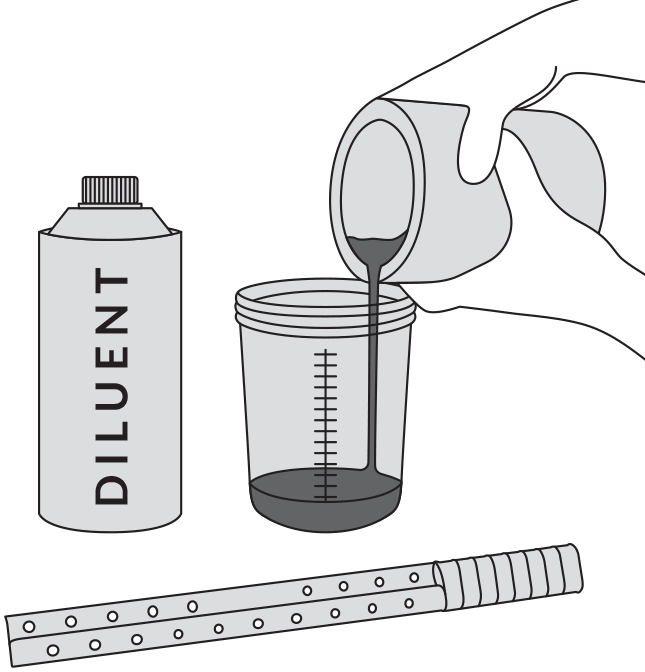
4. PREPARE PAINT
- Prepare and dilute paint corresponding to paints TDS (technical data sheet).
- Make sure your paint is mixed before using it.
- Check the correct viscosity of the paint as recommended by the paint manufacturer.
- Fit the paint filter in the gravity cup.
- Pour paint into the gravity cup by filtering it by an appropriate strainer to eliminate all impurities.
5
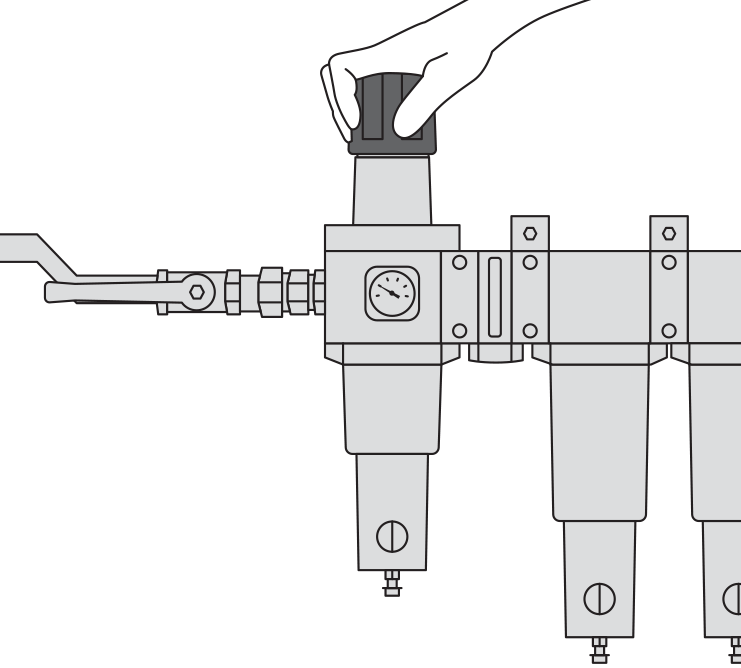
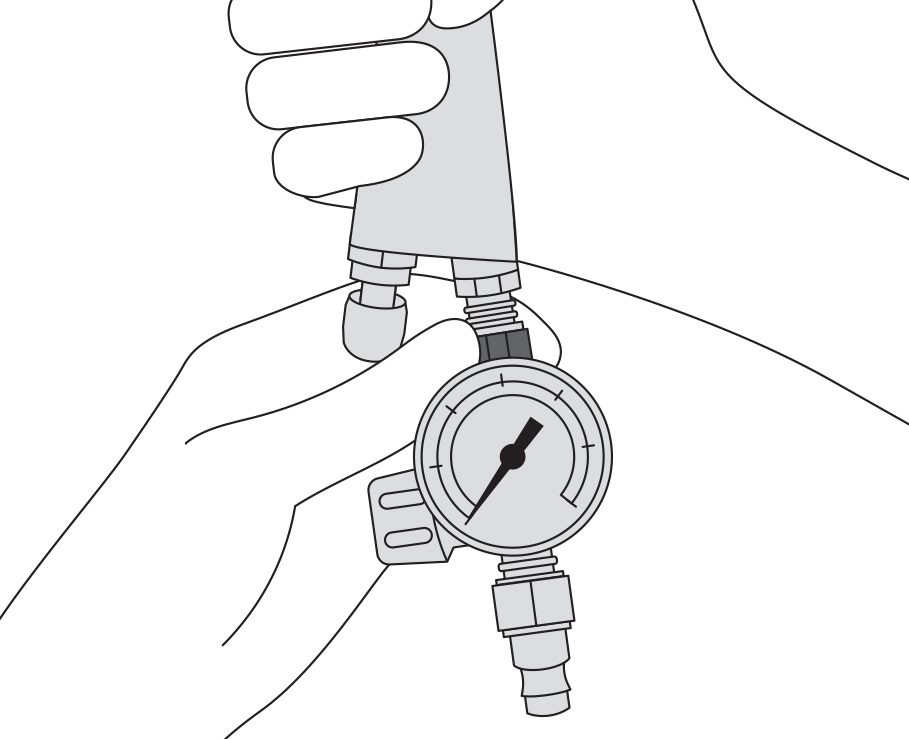
5. SET-UP PRESSURE
- Check the functionality of the air filterunit.
- Fully open the pressure regulator for the spray gun and set the correct air pressure on the gauge of the filter unit.
6
6. PRESSURE ADJUSTMENT
- Fully open the air adjustment on the spray gun.
- While pulling the trigger, make sure the pressure is set correctly on the external air pressure regulator and corresponding to the
technical data sheet.
7
7. FLUID OUTPUT ADJUSTMENT
While pulling the trigger, make sure the pressure is set correctly on the external air pressure regulator and corresponding to the technical data sheet.
- To decrease the fluid delivery, turn the fluid output adjustment knob clockwise.
- To increase the fluid delivery, turn the fluid output adjustment knob counter-clockwise.
8
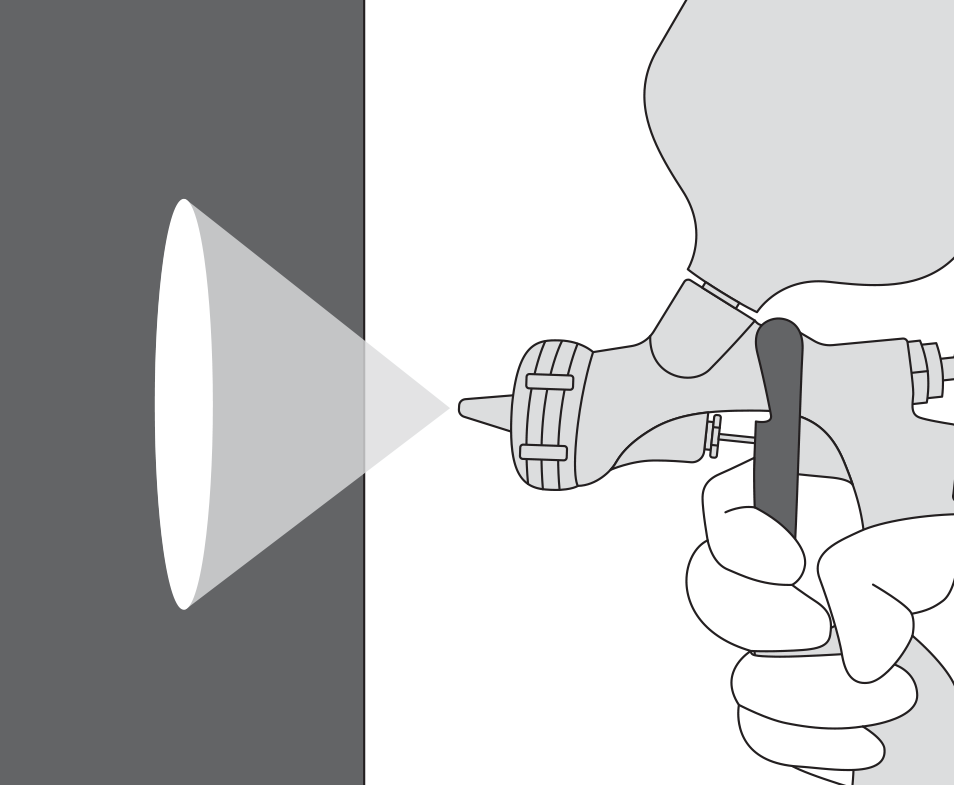
8. PATTERN ADJUSTMENT
Use the fan pattern adjustment to either achieve a flat or a round fan pattern.
- Turn the pattern adjustment knob clockwise to achieve a round fan pattern.
- Turn the pattern adjustment knob counter-clockwise to achieve a flat & thin fan pattern.
9
9. TEST & SPRAY
- Set the spray distance from the gun to the workpiece, as near as possible within the range of 100 – 250 mm.
- Test spray (proceed as recomended by the paint manufacturer)
- Proceed with the painting operations according to the manufacturer’s instructions.