User Guide
Updated on 08.01.2025
In this guide
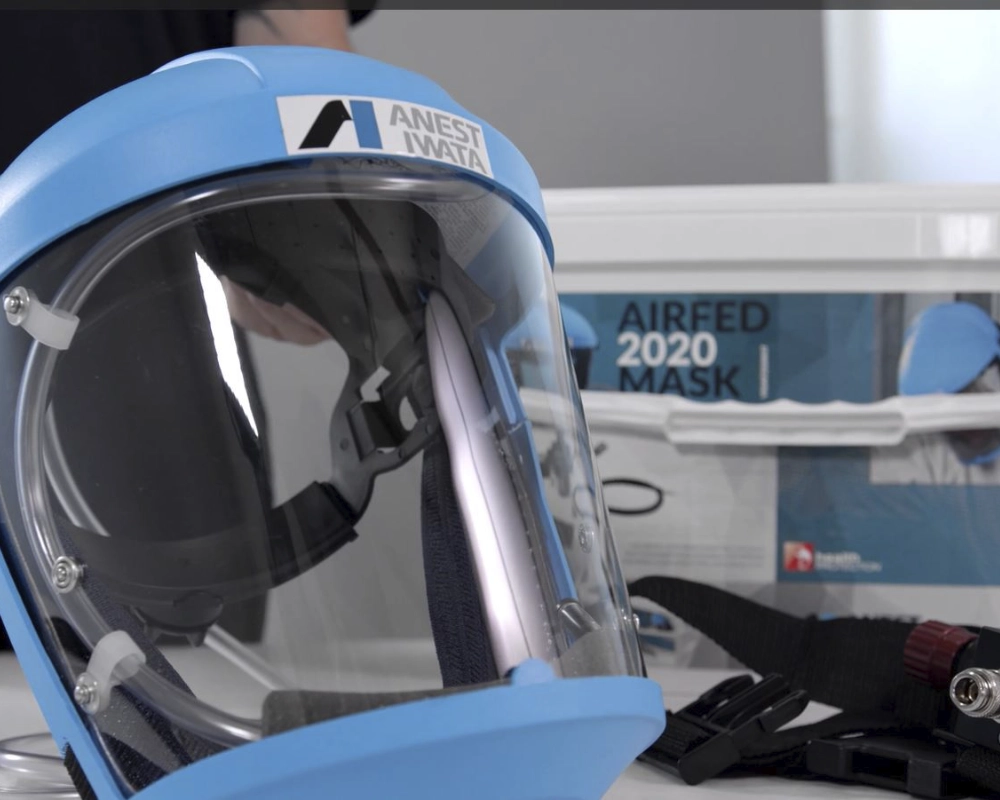
1. UNPACK & CHECKING
Unpack the full face mask and make sure that the product has not been damaged during
transportation, check the integrity of the product and the components included in the
packaging.
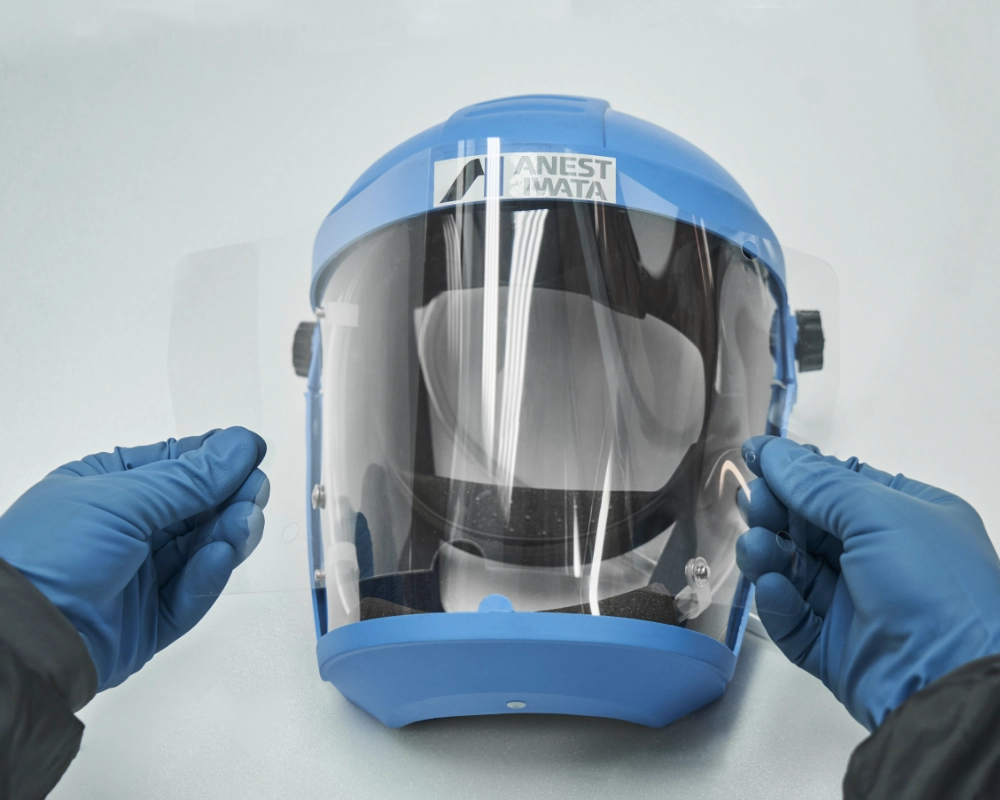
2. VISOR COVER MOUNTING
Attach the disposable adhesive film to the visor by securing it in place using the two snap buttons located on each side of the visor’s edges.
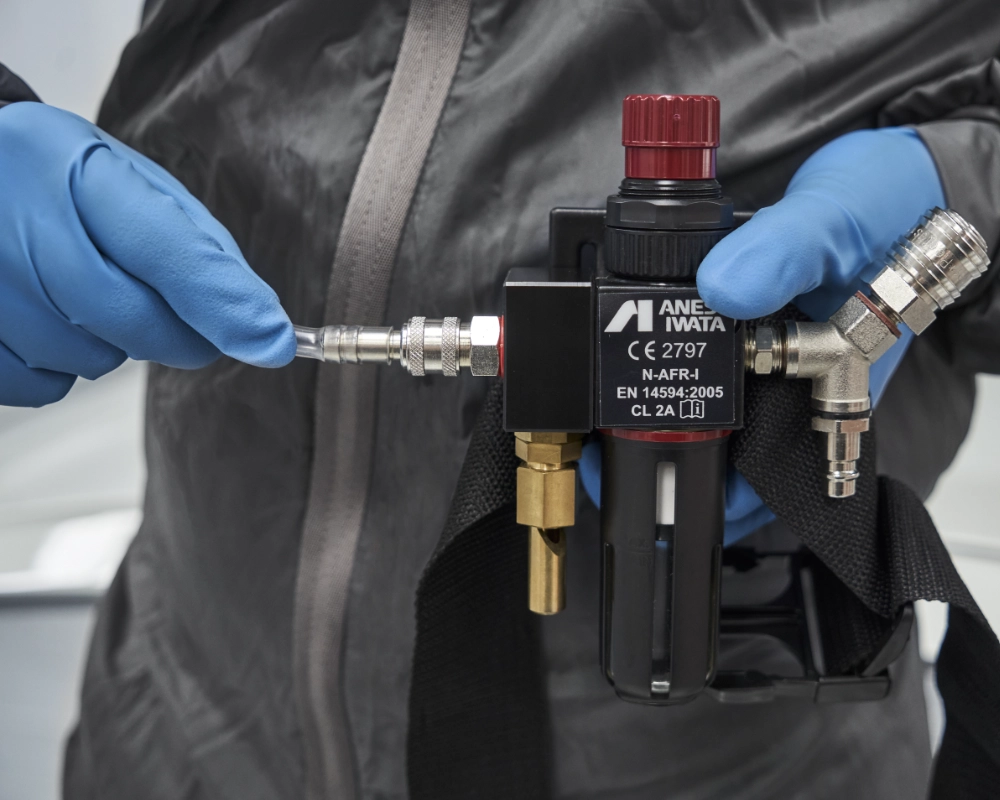
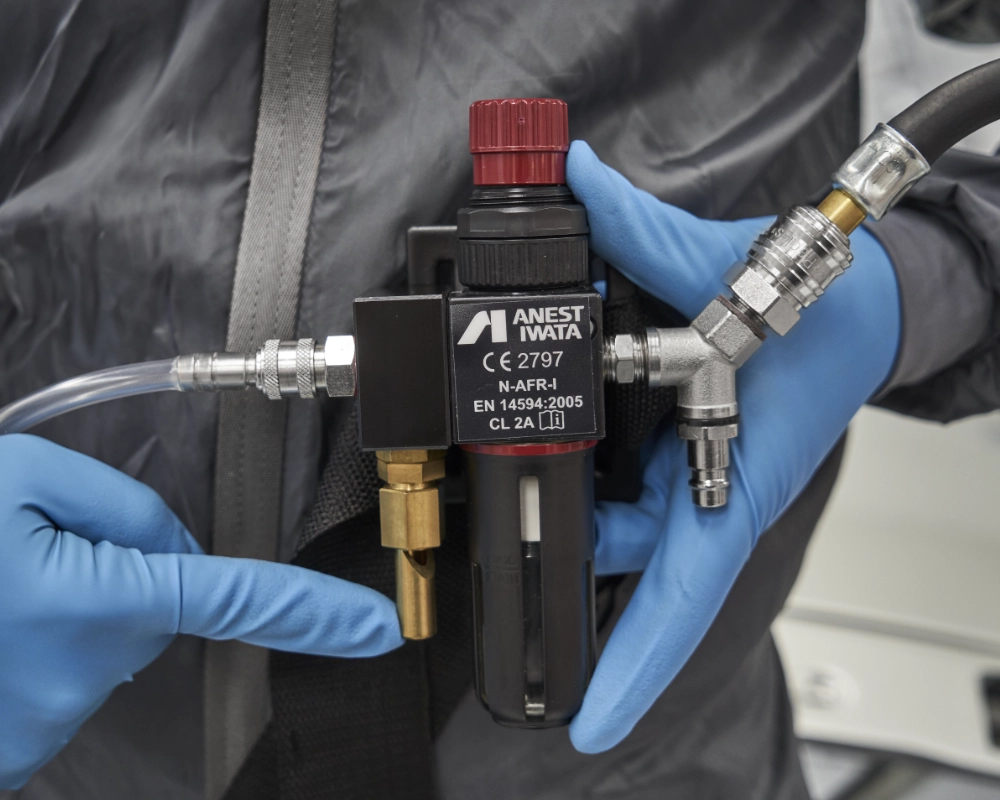
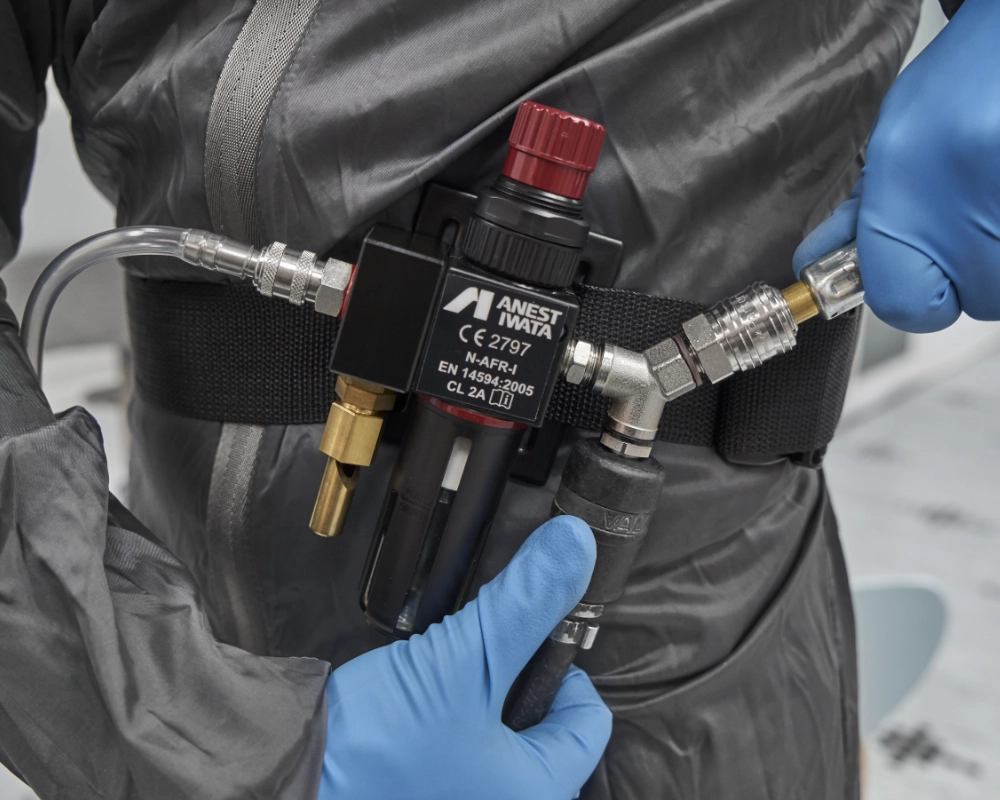
3. AIR HOSE DIFFUSER CONNECTION
Connect the mask’s air hose diffusion to the air regulator’s supply connection.
4. SUPPLY AIR HOSE CONNECTION
On the opposite side of the air regulator, connect the spray gun’s air supply line connection.
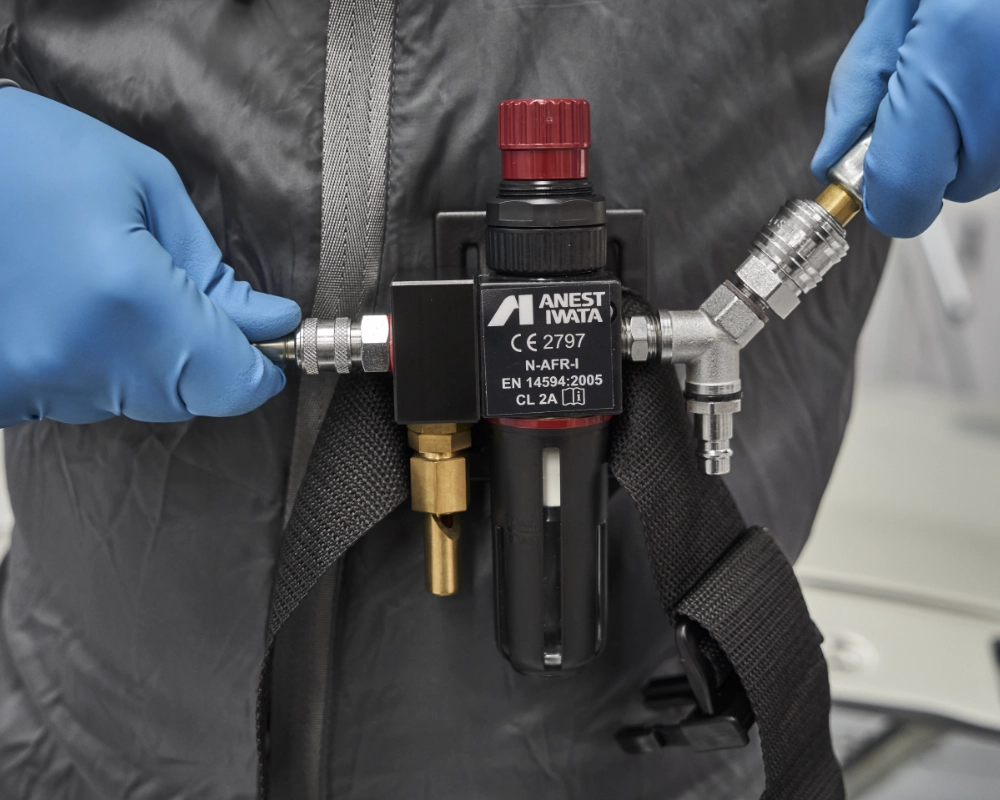
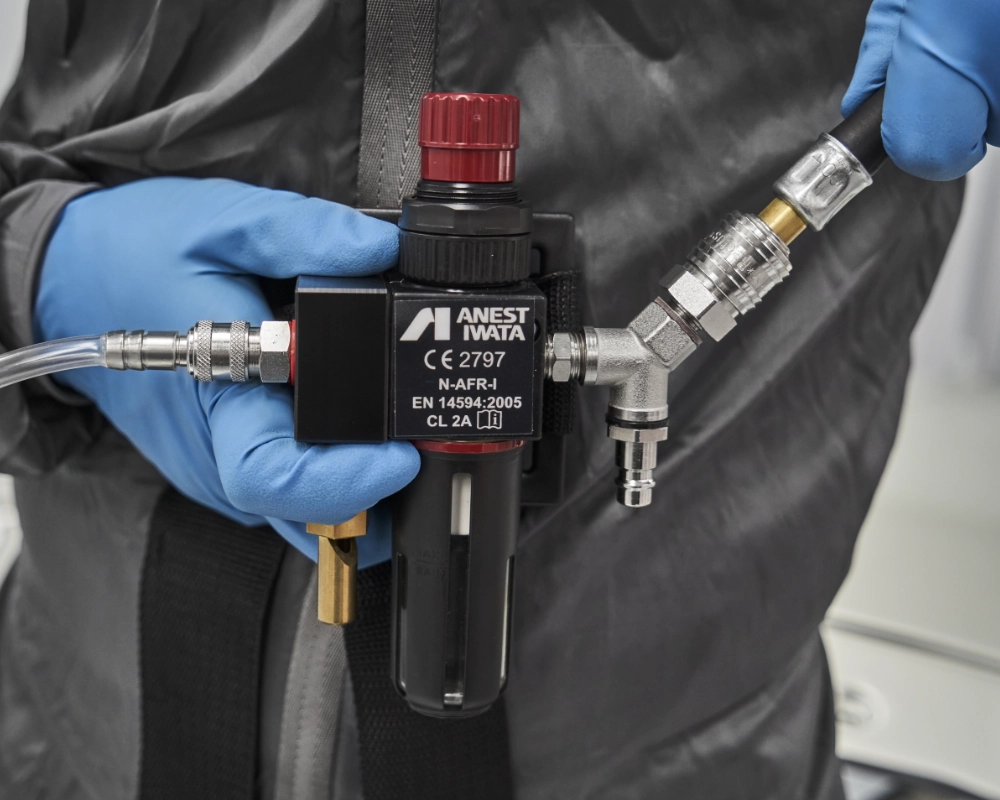
5. CHECK CORRECT CONNECTION
Make sure that the connections of both pipes are secure.
6. WHISTLE EQUIPPED
The air regulator is equipped with an audible alarm device (a whistle) that indicates insufficient air flow
inside the mask. In case of an anomaly, the device will start to sound, signaling that the air pressure has
fallen below the permitted level, so it will be necessary to simply readjust the pressure via the regulator, to ensure that the mask’s supply returns to the correct air supply.
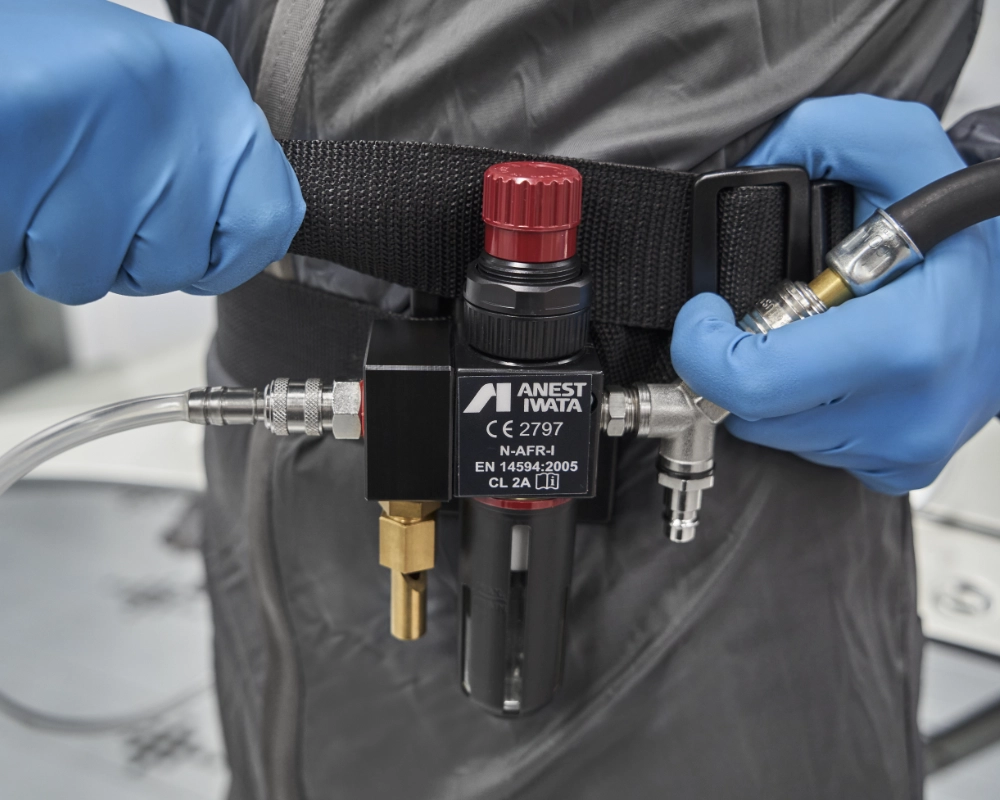
7. WAISTBELT WEARING
Wear the waistbelt with the included air regulator kit and adjust it according to your correct circumference.
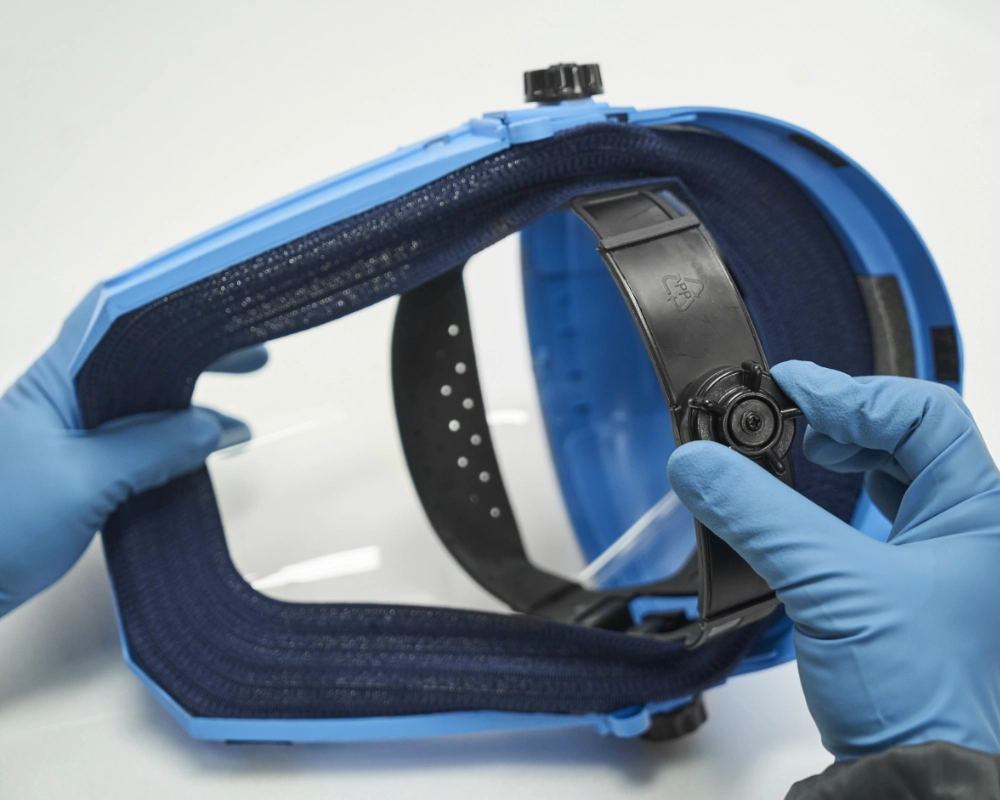
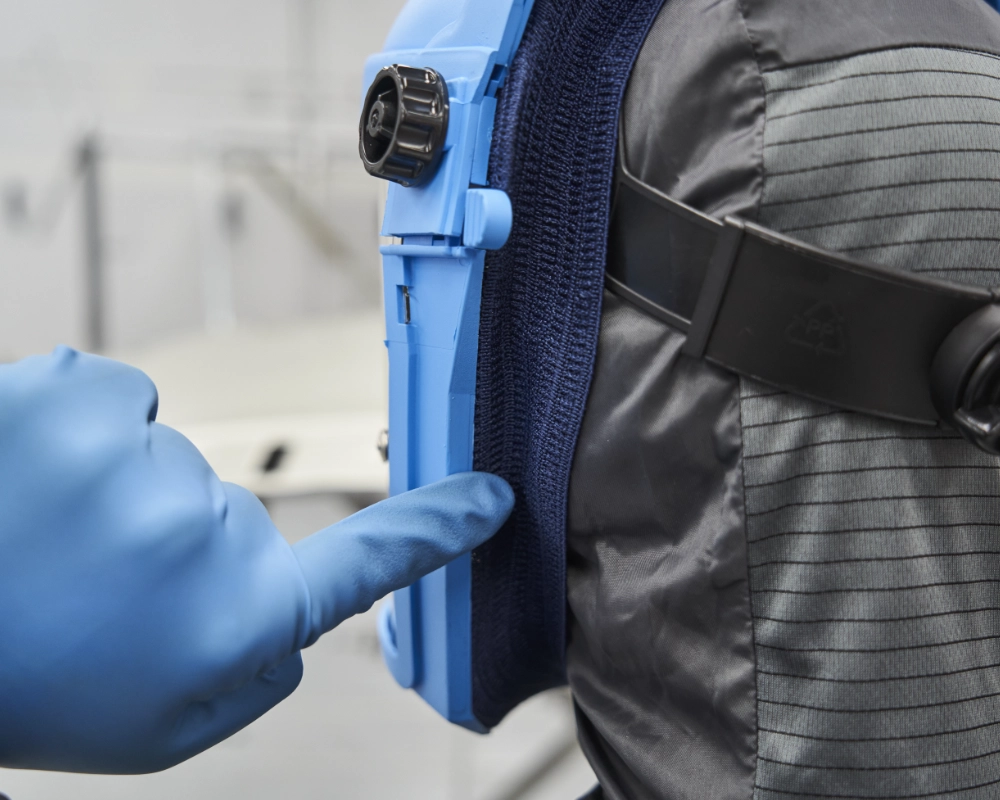
8. HARNESS ADJUSTING
If you are using the mask for the first time after purchase, once removed from the box, it will be necessary to adjust the helmet’s suspended harness using the ratchet tightening system until it fits perfectly to the size of your head.

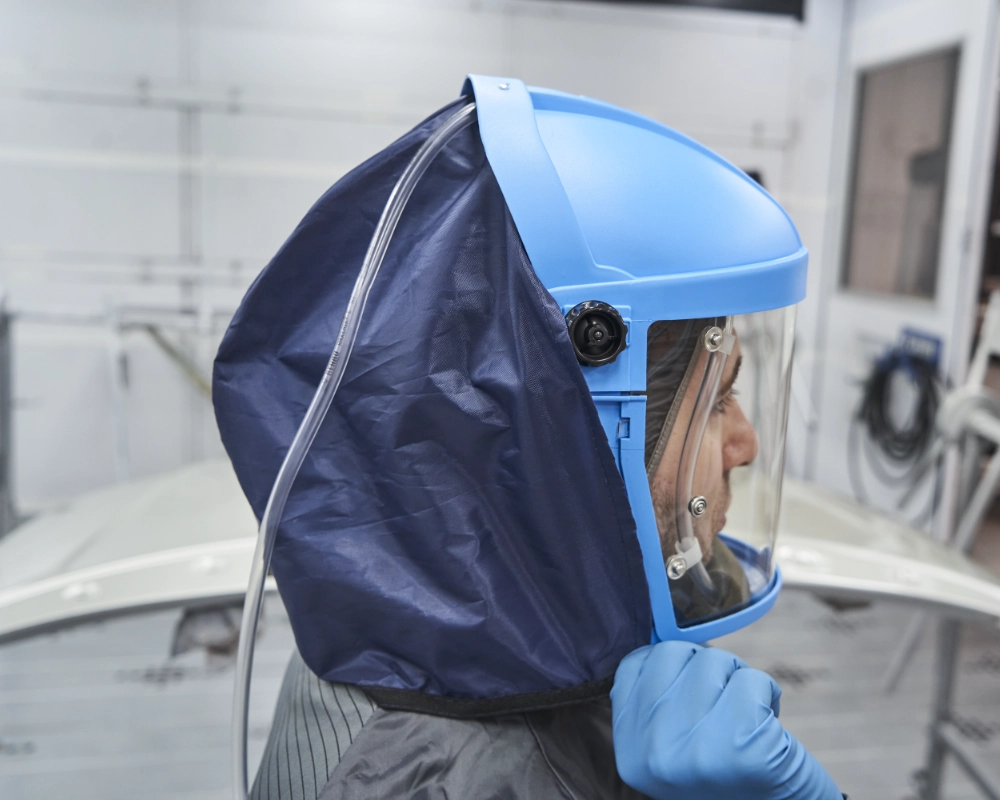
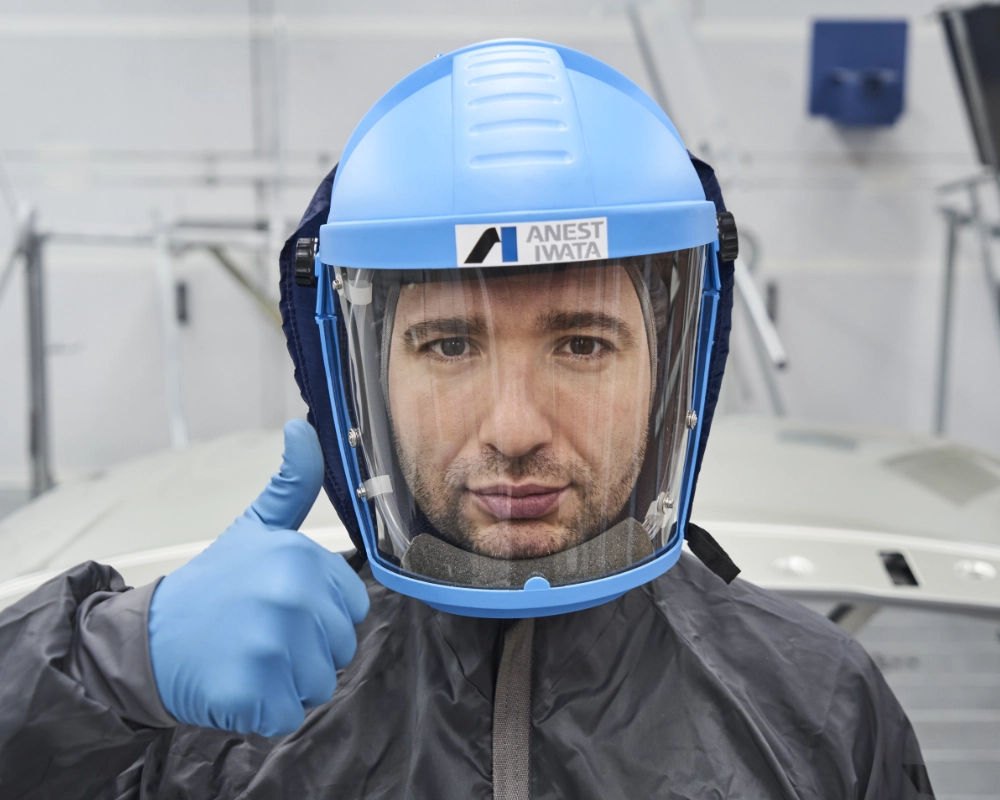
9. FULL FACE MASK WEARING
Wear the mask, adjust the harness to the most comfortable position, and tighten the ratchet.
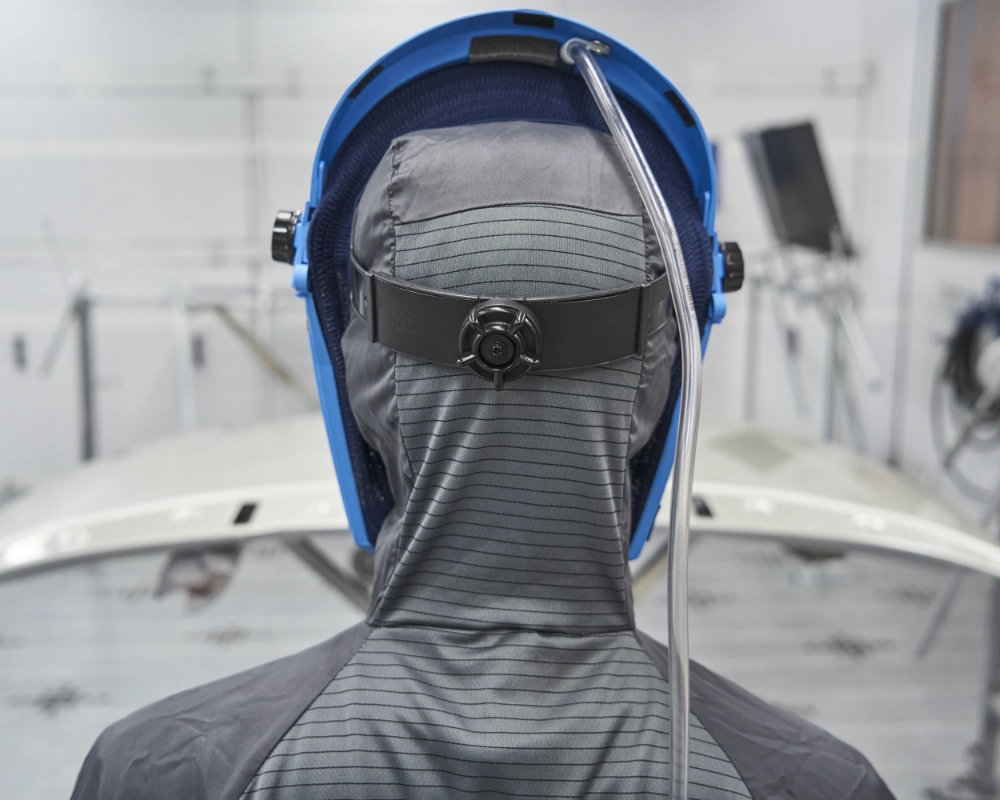
10. CHECK CORRECT FIT
If the mask is worn correctly, the back of the harness should be snug but not excessively tight.
11.
Now, it will also be necessary to check that the hygiene kit fits perfectly along the contour of the face.
12. BREATHABLE AIR SUPPLY CONNECTING
Connect the air supply hose, to the main breathable air supply line of the compressor.
13. NAPE COVER ASSEMBLY
Secure the neck protection to the back of the helmet and adjust it properly.
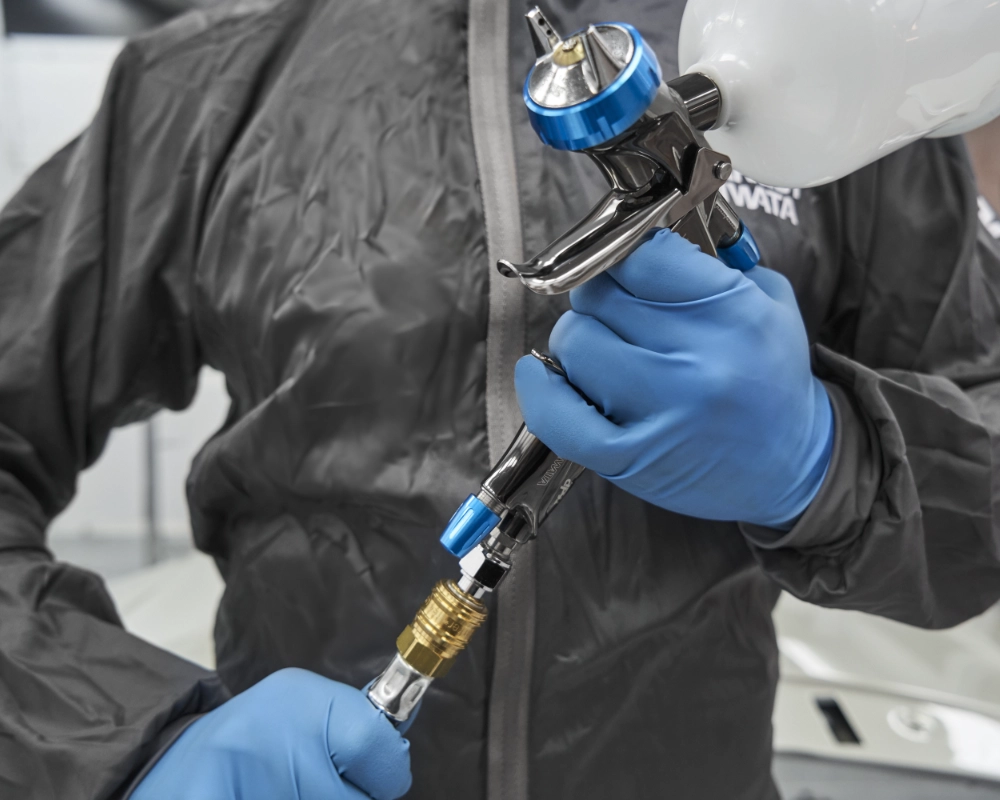
14. SPRAY GUN CONNECTING
Connect the spray gun air supply hose to the inlet port of the spray gun.
15. AIR QUALITY CHECKING
Check the quality of the air circulating inside the mask and ensure that the airflow is sufficient for the system to function properly. If everything is working, now you are ready to start painting.